SORACOM S+ Camera Basicの開発環境をUbuntuに構築
以下の公式ドキュメントの「PC の開発環境の構築」のセクションに手順が載っていますが、pip installに手こずったので、記録しておきます。
使用方法: アルゴリズムの更新方法 | SORACOM Mosaic | SORACOM Users
pyenvを入れて、venvでactivateするところまでは通常通りです。次は pip install です。
pip installすべきパッケージは以下に書いてあります。
リファレンス: SORACOM Mosaic Python module 一覧 | SORACOM Mosaic | SORACOM Users
この内容を requirements.txt に入れて、以下を実行します。
$ pip install -r requirements.txt
エラーその1
pip installしたら、以下のようなエラーになりました。
ERROR: Could not find a version that satisfies the requirement tflite-runtime==2.1.0.post1
ERROR: No matching distribution found for tflite-runtime==2.1.0.post1
requirements.txt の
tflite-runtime==2.1.0.post1
を
https://dl.google.com/coral/python/tflite_runtime-2.1.0.post1-cp37-cp37m-linux_x86_64.whl
に書き換えたら解決しました。
エラーその2
pip installしたら、以下のようなエラーになりました。
ERROR: Cannot install -r memo.txt (line 50) and tensorboard==2.0.2 because these package versions have conflicting dependencies.

The conflict is caused by:
    The user requested tensorboard==2.0.2
    tensorflow 1.14.0 depends on tensorboard<1.15.0 and >=1.14.0

To fix this you could try to:
1. loosen the range of package versions you've specified
2. remove package versions to allow pip attempt to solve the dependency conflict
requirements.txt の
tensorboard==2.0.2
を
tensorboard==1.14.0
に書き換えたら解決しました。
エラーその3
pip installしたら、以下のようなエラーになりました。
CMake must be installed to build the following extensions: dlib
以下を実行したら解決しました。
$ sudo apt install -y cmake
エラーその4
pip installしたら、以下のようなエラーになりました。
    build/temp.linux-x86_64-3.7/_webp.c:541:14: fatal error: webp/decode.h: No such file or directory
      541 |     #include <webp/decode.h>
          |              ^~~~~~~~~~~~~~~
    compilation terminated.
    error: command 'gcc' failed with exit status 1
以下を実行したら解決しました。
$ sudo apt install -y libwebp-dev
まとめ
以上でやっと pip install 成功しました。
SORACOMの公式ドキュメントと最終的な requirements.txt の差分は以下の通りです。
@@ -46,11 +46,11 @@
 scikit-learn==0.22.1
 scipy==1.4.1
 six==1.14.0
-tensorboard==2.0.2
+tensorboard==1.14.0
 tensorflow==1.14.0
 tensorflow-estimator==1.14.0
 termcolor==1.1.0
-tflite-runtime==2.1.0.post1
+https://dl.google.com/coral/python/tflite_runtime-2.1.0.post1-cp37-cp37m-linux_x86_64.whl
 urllib3==1.25.8
 webp==0.1.0a7
 webptools==0.0.2
差分があってもいいのかは不明です。
バージョン情報
$ cat /etc/lsb-release
DISTRIB_ID=Ubuntu
DISTRIB_RELEASE=20.04
DISTRIB_CODENAME=focal
DISTRIB_DESCRIPTION="Ubuntu 20.04.2 LTS"
PythonはSORACOMのドキュメントの通り、 3.7.3 です。
HTMLメールに添付ファイルの画像を埋め込む
HTMLメールに画像ファイルを添付して、メール文面にその画像を表示させるには、次の2点に気を付ければよいようです。
- HTMLのimg要素には
src="cid:image.jpg"のように指定 - 添付の画像ファイルに Content-ID ヘッダを付与
img要素
メールのHTMLパートのソースには <img src="cid:image.png"> のようにファイル名に cid: を付けます。
画像の添付ファイルのヘッダ
以下のようにファイル名を指定します。 Content-ID: <image.png> というのが必要のようです。他の2行も必要なのかはわかりませんが、いちおう付けました。 Content-ID に指定するファイル名は <> で囲む必要があります。
Content-Disposition: attachment; filename="image.png"
Content-Type: image/png; name="image.png"
Content-ID: <image.png>
Pythonでメール送信する例
from email.mime.application import MIMEApplication
from email.mime.multipart import MIMEMultipart
from email.mime.text import MIMEText
from email.utils import formatdate

import boto3

profile = "default"
region = "ap-northeast-1"

email_from = "sample_from@example.com"
email_to = "sample_to@example.com"

session = boto3.session.Session(profile_name = profile, region_name = region)
ses_client = session.client("ses")

charset = "UTF-8"

body_text = "画像を添付\n"
body_html  = "<!DOCTYPE html><html><head><meta charset=\"utf-8\"/></head><body>"
body_html += "<p>画像を添付</p>\n"
body_html += "<p><img src=\"cid:image.png\"></p>" # `cid:` を付けないとGmailは画像を参照してくれなかった
body_html += "</body></html>"

subject = "Sample email"
date = formatdate()

file_binary = open("image.png", 'rb').read()

msg = MIMEMultipart("mixed")
msg['Subject'] = subject
msg['From'] = email_from
msg['To'] = email_to
msg['Date'] = date

msg_body = MIMEMultipart('alternative')
msg_body.attach(MIMEText(body_text.encode(charset), 'plain', charset))
msg_body.attach(MIMEText(body_html.encode(charset), 'html', charset))
msg.attach(msg_body)

attachment = MIMEApplication(file_binary)
attachment.add_header('Content-Disposition', 'attachment', filename = "image.png")
attachment.add_header('Content-Type', 'image/png', name = "image.png")
attachment.add_header('Content-ID', "<image.png>")
msg.attach(attachment)

# AWS SESでメール送信する例
ses_client.send_raw_email(
    Source = email_from,
    Destinations = [email_to],
    RawMessage = {
        "Data": msg.as_string(),
    },
)

# SMTPサーバでメール送信する例
#import smtplib
#smtp = smtplib.SMTP(SMTP_HOST, SMTP_PORT)
#smtp.starttls()
#smtp.sendmail(email_from, email_to, msg.as_string())
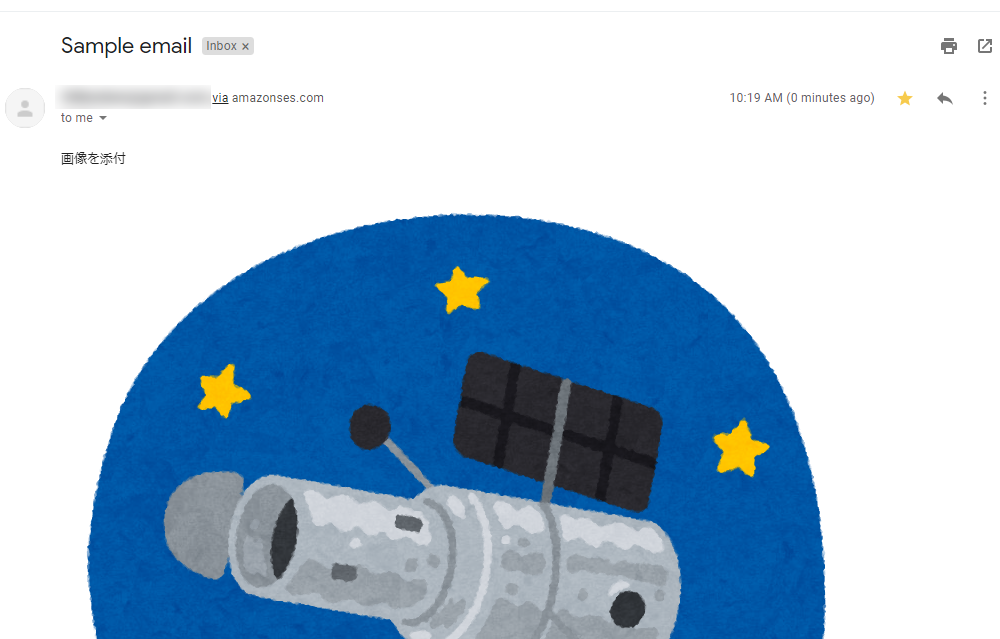
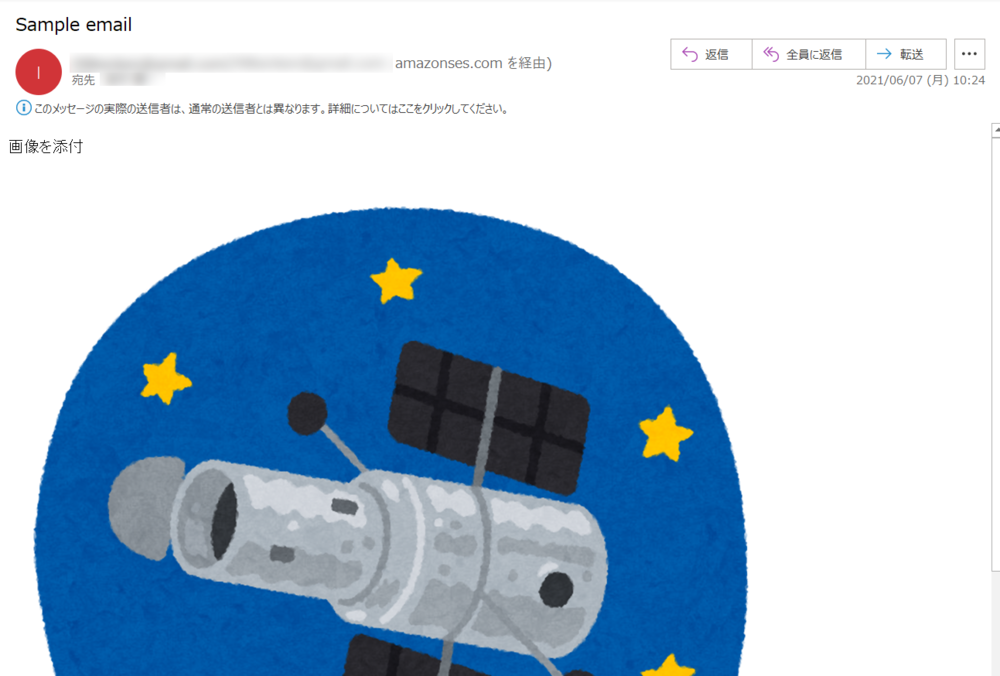
メール受信例
GmailとOutlookで確認しました。添付ファイルとしてではなく、文中に差し込みができています。
Gmailでの受信
Outlookでの受信
SMTPサーバでPythonからメール送信してみる
前回(AWS SESでPythonからメール送信してみる)、AWS SESを使ってメール送信をしてみました。今回はAWS関係なしに、SMTPサーバを使ってみました。
と言っても、以下のようなサンプルコードで簡単にできました。
メール送信のPythonコード
import smtplib
from email.mime.text import MIMEText
from email.utils import formatdate

smtp = smtplib.SMTP("smtp.example.com", 25)
smtp.starttls()

subject = "test mail"
email_from = "Sample <sample@gmail.com>"
email_to   = "sample_to@gmail.com"
body_msg = "Hello, World!\nHello, World!"

msg = MIMEText(body_msg)
msg['Subject'] = subject
msg['From'] = email_from
msg['To'] = email_to
msg['Date'] = formatdate()

smtp.sendmail(email_from, email_to, msg.as_string())
emailパッケージのレファレンスはこのあたり。
email.mime: Creating email and MIME objects from scratch — Python 3.9.5 documentation
メール添付も前回の記事と同じ方法でできそうです。
以上。(ブログ記事にするほどではなかった)
一時クレデンシャルを取得するserverlessコマンドのラッパースクリプト その2
Serverless Frameworkは ~/.aws/config に書いたAssume Roleの設定を読んでくれないようなので、先日、EC2にアタッチされたIAM Roleからassume roleして、一時クレデンシャルを取得して、Serverless Frameworkを実行するスクリプトを書きました。 credential_source=EC2InstanceMetadata の場合だけの場当たり的な処理を追加したスクリプトでした。今回は source_profile にも対応しました。
スクリプト
シェルスクリプトですが、Pythonコードも埋め込まれています。
#!/bin/bash

# serverlessコマンドのラッパーとして機能する簡易的なスクリプト。
#
# --aws-profile が指定されていた場合に
# ~/.aws/config を読み込み、
# credential_sourceまたはsource_profile と role_arn が指定されていた場合は、
# 一時クレデンシャルを取得してserverlessを実行する。
# --aws-profile は先頭に必要で、途中では認識しない。

profile=
if [ $# -ge 2 ]; then
    if [ "$1" = --aws-profile ]; then
        profile="$2"
        shift
        shift
    fi
fi

if [ -z "$profile" ]; then
    # そのままserverlessを実行
    echo serverless "$@"
    exec serverless "$@"
fi

################################
# boto3で一時クレデンシャル取得
################################

tmpfile=$(mktemp)
python <<EOF > $tmpfile
import configparser
import os
import sys

import boto3

home_path = "$HOME"

aws_config_filepath = home_path + "/.aws/config"

profile = "$profile"

if not os.path.exists(aws_config_filepath):
    sys.exit(0)

aws_config = configparser.ConfigParser()
aws_config.read(aws_config_filepath)

section_name = "profile " + profile

def get_config(name):
    try:
        return aws_config.get(section_name, name)
    except configparser.NoOptionError:
        return None
    except configparser.NoSectionError:
        return None

credential_source = get_config("credential_source")
source_profile    = get_config("source_profile")
role_arn          = get_config("role_arn")

if credential_source == "Ec2InstanceMetadata":
    session = boto3.session.Session()
    sts_client = session.client("sts")
    res = sts_client.assume_role(
        RoleArn = role_arn,
        RoleSessionName = "serverless",
        DurationSeconds = 900,
    )
elif source_profile != None:
    session = boto3.session.Session(profile_name = profile)
    sts_client = session.client("sts")
    res = sts_client.assume_role(
        RoleArn = role_arn,
        RoleSessionName = "serverless",
        DurationSeconds = 900,
    )
else:
    session = boto3.session.Session(profile_name = profile)
    sts_client = session.client("sts")
    res = sts_client.get_session_token(
        DurationSeconds = 900,
    )

access_key_id = res["Credentials"]["AccessKeyId"]
secret_access_key = res["Credentials"]["SecretAccessKey"]
session_token = res["Credentials"]["SessionToken"]

print(f"export AWS_ACCESS_KEY_ID={access_key_id}")
print(f"export AWS_SECRET_ACCESS_KEY=\"{secret_access_key}\"")
print(f"export AWS_SESSION_TOKEN=\"{session_token}\"")
EOF

. $tmpfile
rm $tmpfile

################################
# 取得したアクセスキーでserverless実行
################################

echo serverless "$@"
exec serverless "$@"

################################
適当な名前で実行権限を付けて、PATHの通るところに置けば、普通のserverlessコマンドと同じように動かせます。
すごく変なことをしている気がするのですが、どうするのが正しいんだろう。
リンク
このスクリプトに至る経緯
PythonのopenpyxlでExcelの一番下の行に追記
Excelの一番下の行にレコードを追加する処理のPythonコードです。
openpyxlパッケージを使います。
$ pip install openpyxl
Pythonのサンプルコード
import openpyxl

# 表の一番下の行に newRecord を書き込む
# rowIdx, colIdxは表の左上のセルの位置を指定 (0-based)
# 通常は rowIdx = 0, colIdx = 0 でよい
# Excelシートの1行目が空白になっていて表が2行目から始まっている場合は rowIdx = 1 にする
def appendExcelRecord(worksheet, rowIdx, colIdx, newRecord):
    i = rowIdx + 1
    rowCount = worksheet.max_row
    colCount = len(worksheet[i])
    while i <= rowCount:
        row = worksheet[i]
        if row[colIdx].value == None:
            for j in range(len(newRecord)):
                row[colIdx + j].value = newRecord[j]
            break
        i += 1
    if i > rowCount:
        row = [None] * colCount
        for j in range(len(newRecord)):
            row[colIdx + j] = newRecord[j]
        worksheet.append(row)

srcfilepath = "src.xlsx"
dstfilepath = "dst.xlsx"
# xlsmでも可

sheetname = "Sheet1"

if srcfilepath.endswith(".xlsm"):
    wb = openpyxl.load_workbook(srcfilepath, keep_vba = True)
else:
    wb = openpyxl.load_workbook(srcfilepath)

appendExcelRecord(wb[sheetname], 1, 0, [99, "abc", "def"])

wb.save(dstfilepath)
PythonとopensslコマンドでHMAC-SHA256を計算する
Pythonとopensslコマンドの2つの方法で、Helloという文字列のデータとsecretという秘密鍵からHMAC-SHA256を計算してみます。結果のバイナリはコンソールでは見づらいので、BASE64でテキストにしています。
Pythonで計算
import base64
import hashlib
import hmac

data = "Hello"
secret = "secret"
signature = hmac.new(secret.encode("utf-8"), data.encode("utf-8"), hashlib.sha256).digest()
print(base64.b64encode(signature).decode("utf-8"))
# => DMaS8hd7QrblzYJIjubF1SagB8Vx594f7AfB4rHfouI=
opensslコマンドで計算
opensslコマンドでの実行例
$ echo -n Hello | openssl dgst -binary -sha256 -hmac 'secret' | base64
DMaS8hd7QrblzYJIjubF1SagB8Vx594f7AfB4rHfouI=
計算結果が同じ値になることが確認できました。
FIFOタイプのAWS SNSはメール送信できない
AWSのSNSは通知先としてメールやLambdaなどを指定できます。
SNSはベストエフォートなStandardタイプと、順番と通知回数を保証されたFIFOタイプの2タイプあります。
が、FIFOタイプの通知先はSQSしか指定できず、メール送信には使えない。知らなかった。。。
StandardタイプのTopicでは、EmailやLambdaなどいろいろなProtocolのサブスクリプションが使える。

FIFOタイプのTopicはSQSのみで、Emailがない。

awscliで設定しようとしてみても同様
$ aws sns subscribe --topic-arn arn:aws:sns:ap-northeast-1:123456789012:xxxx.fifo --protocol email --notification-endpoint foo@example.com

 An error occurred (InvalidParameter) when calling the Subscribe operation: Invalid parameter: Invalid protocol type: email
たしかにドキュメントを読むとFIFOではSQSが前提のような書きっぷりである。
Topic作成時の説明にちゃんと書いてあったことにあとから気が付いた。
